View-Only Sharing
You can professionally share your financial report with external parties by taking a ‘snapshot' of your financial report and inviting one or many external parties to view it.
This can help if you’re fundraising, providing investor updates, or creating a recurring update on performance. You can even control, in extreme detail, the data that your guests can see.
Creating snapshots
An admin user can create a snapshot by going to your Financial Report and setting the range of data that you want to share with your external user(s).
Note: You can only share snapshots from your Financials page. Snapshots aren’t supported on the Dashboard, Hiring Plan, or Models pages.
Click Share at the top right, followed by Create view-only snapshot.
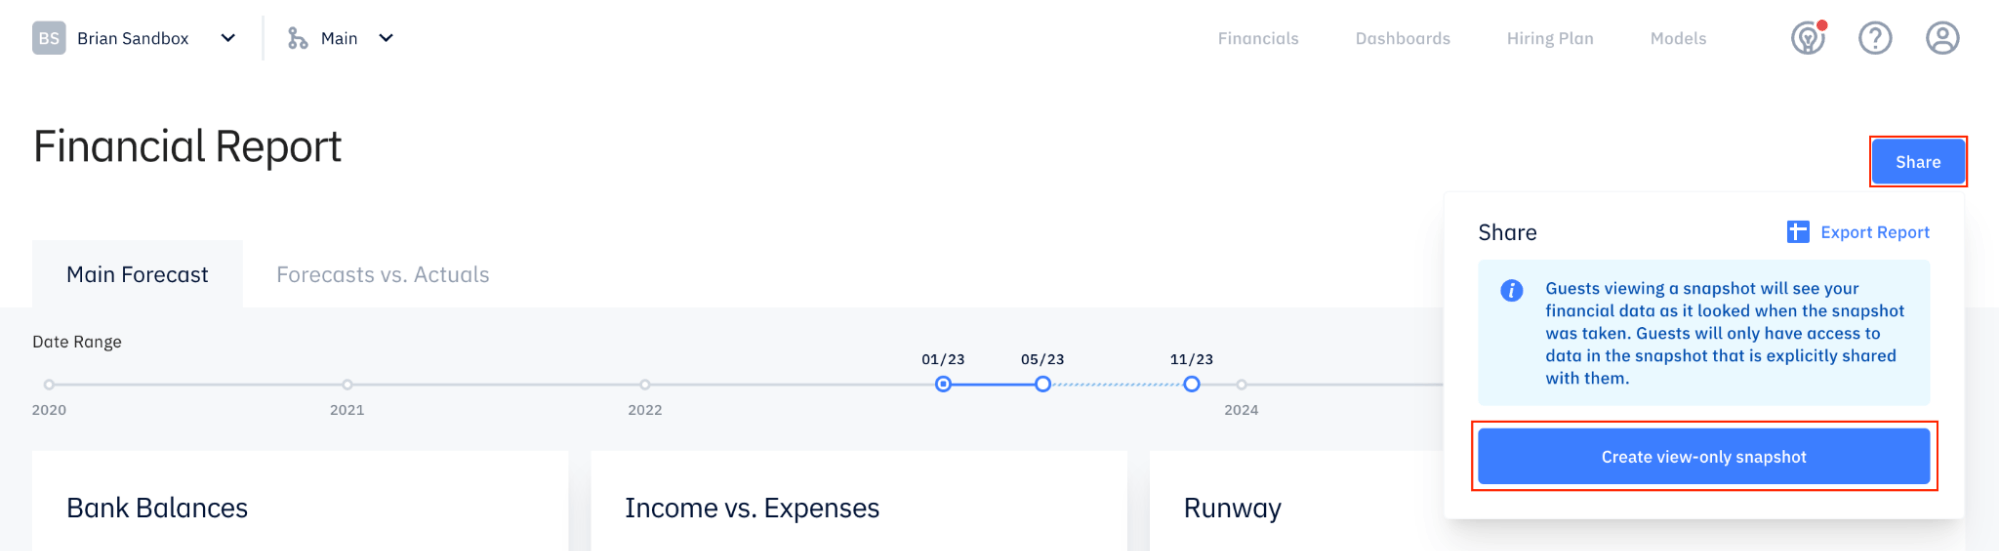
A load bar will appear as the snapshot is being created. Make sure you stay on this page and avoid changing any of the data while this loads.

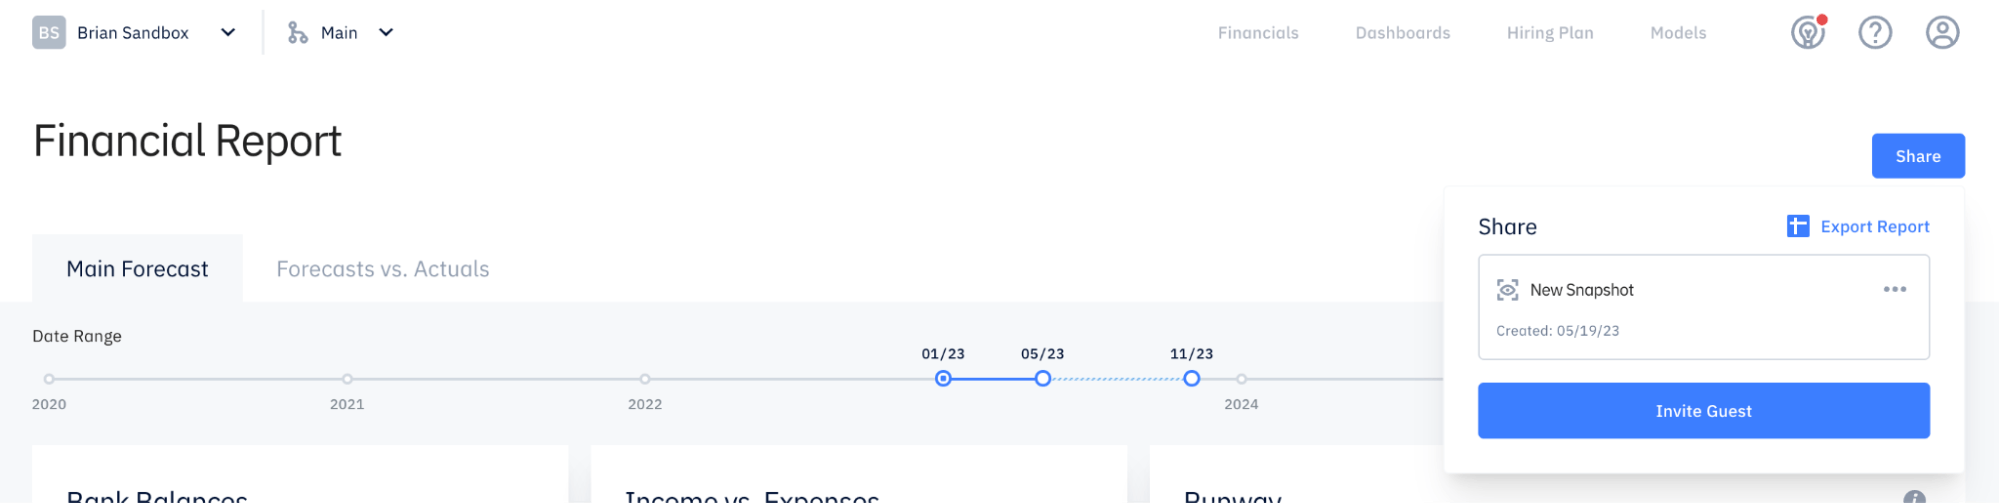
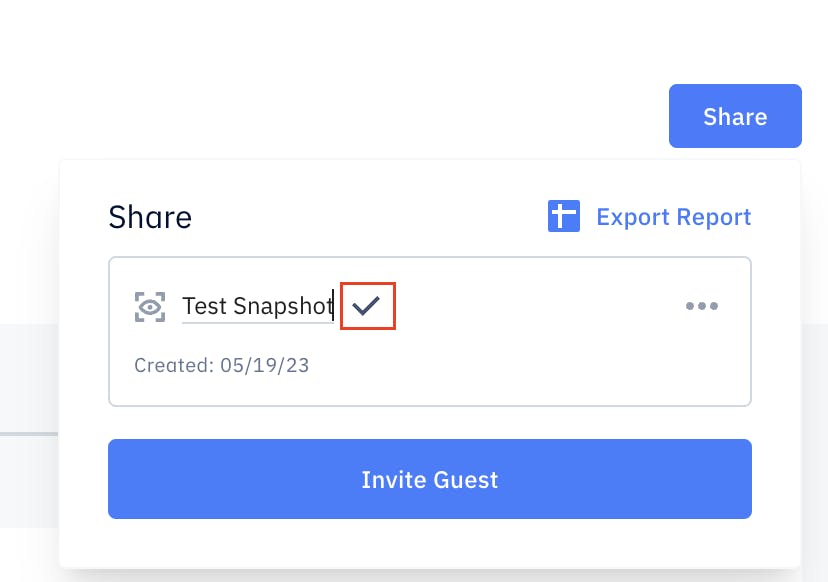
Once complete, you’ll see the name of the snapshot and the date it was created. You can rename your snapshot, if you wish.
Renaming snapshots
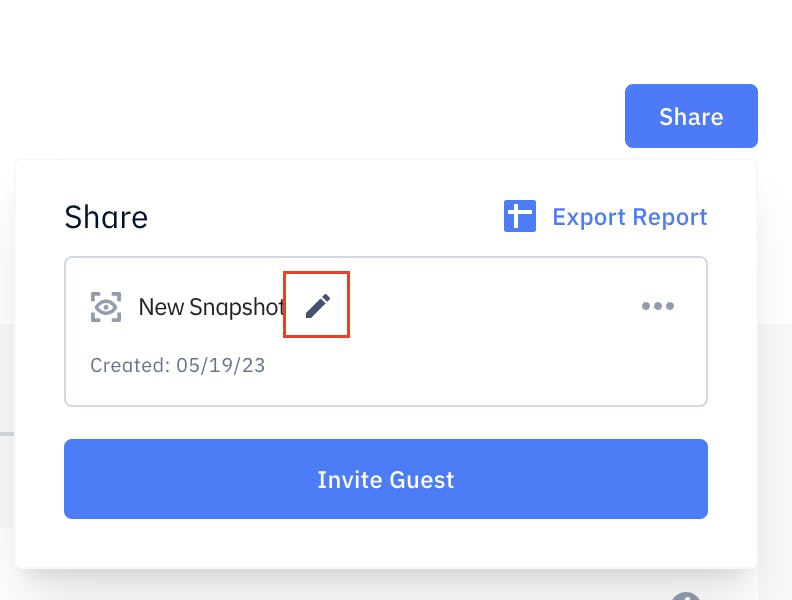
A newly created snapshot will default to the name “New Snapshot.” You can rename it by hovering over the current name, then clicking the pencil icon when it appears. Type in your desired name for the snapshot and click the checkmark or hit Enter on your keyboard.
Admin view of snapshot
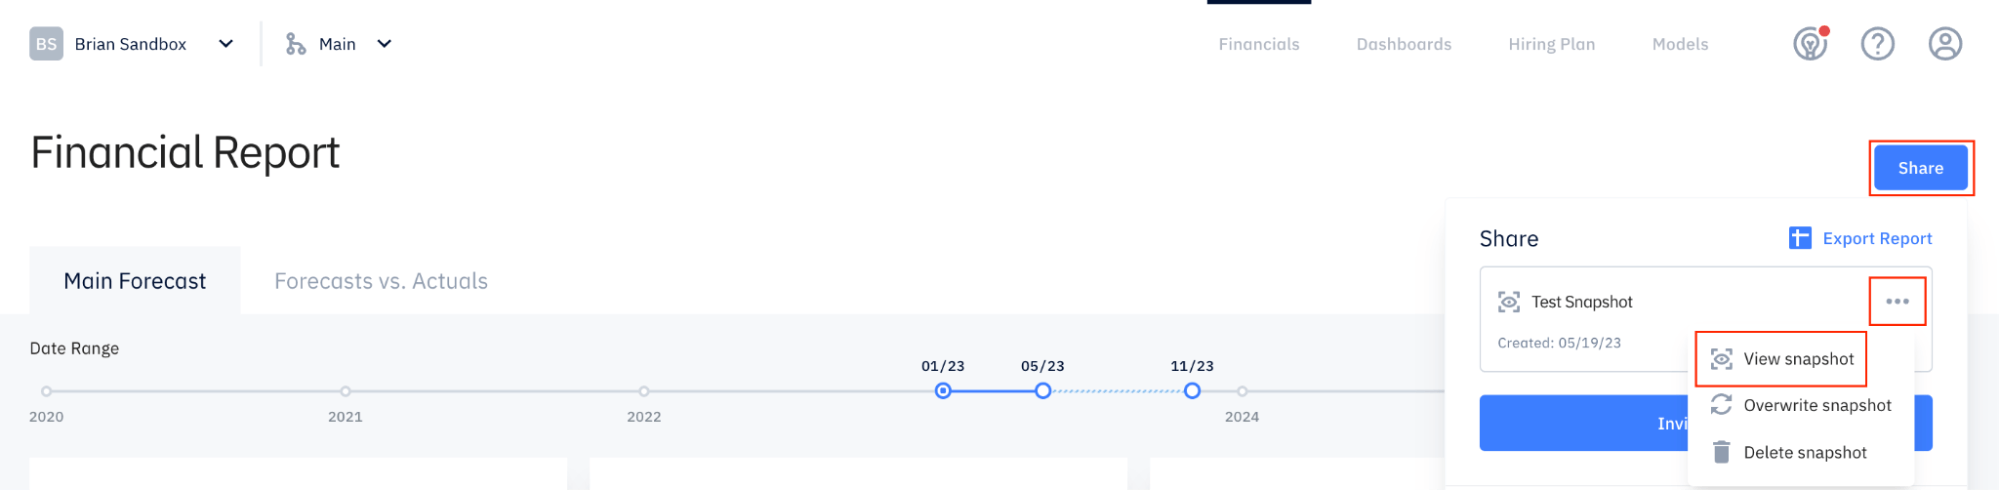
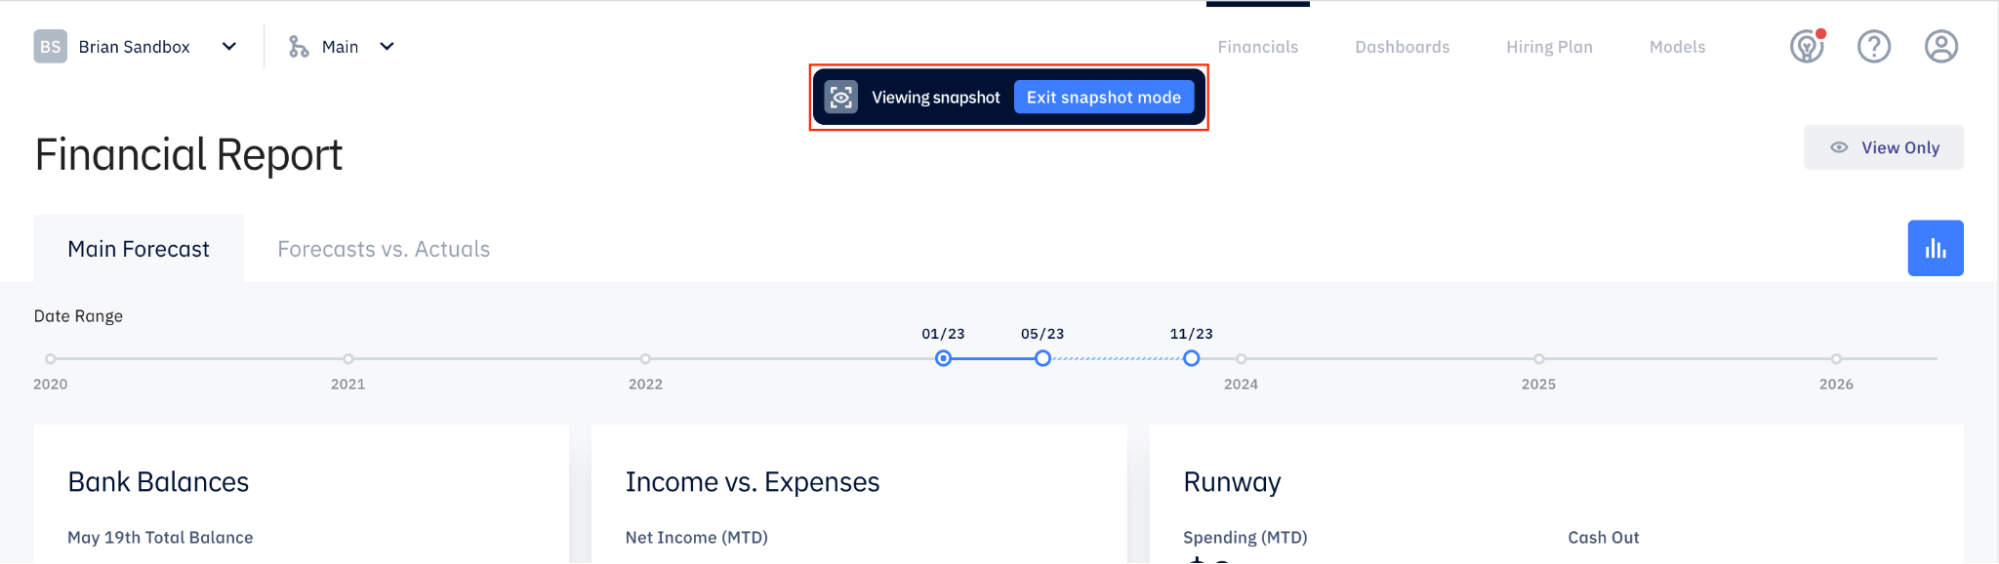
Before you invite guests to view your snapshot, you can view it from a guest’s perspective to make sure you’re sharing only your desired data. To do this, click Share > the 3 dots > View Snapshot. This will cause the page to reload, and your snapshot overview will look the same as a guest would see it.
Note that, as a guest, you cannot switch between existing reports or scenarios. You also cannot click into any of the Financial Report cells.
Overwrite snapshot
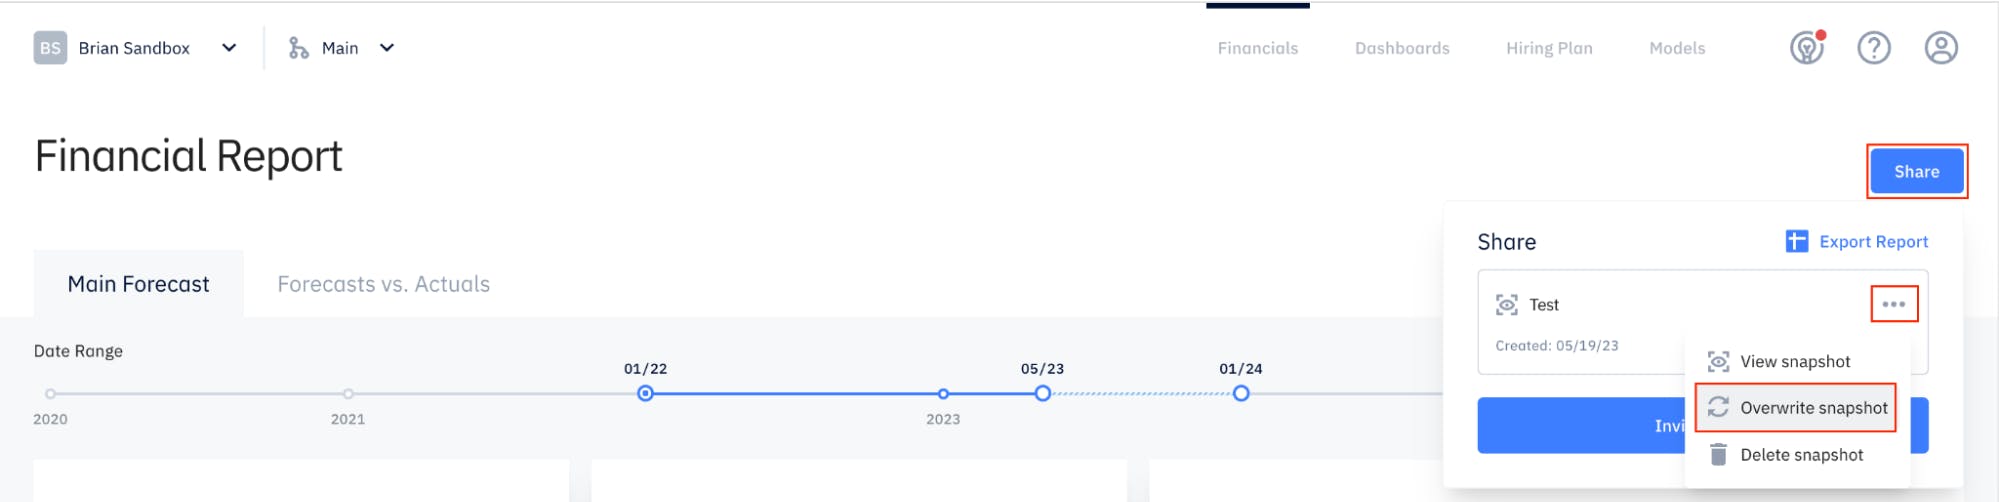
Snapshots are static and cannot be adjusted once created. This means that you cannot adjust the date range selector or make other changes to an existing snapshot. If you need to update the information, you can overwrite the current snapshot with a new version.
To do this, go to the snapshot and click Share > the 3 dots > Overwrite Snapshot. After overwriting a snapshot, its name will convert back to “New Snapshot” but this can again be changed. This will also cause the range of data the guest can view to automatically update.
Delete snapshot
You can delete snapshots entirely by going to the snapshot and clicking Share > the 3 dots > Delete Snapshot.
This cannot be undone.

After a snapshot is deleted, guests won’t be able to access the data anymore, but will still appear as a user in the Members settings page.
Sharing snapshot/inviting guests
When you take a snapshot of the Financials page, all of the reports (Financial Report, P&L, Balance Sheet, Department, Cash Flow, Custom Reports) and scenario(s) are stored in the snapshot. You can then invite other parties or guests to view this report by sharing it with them.
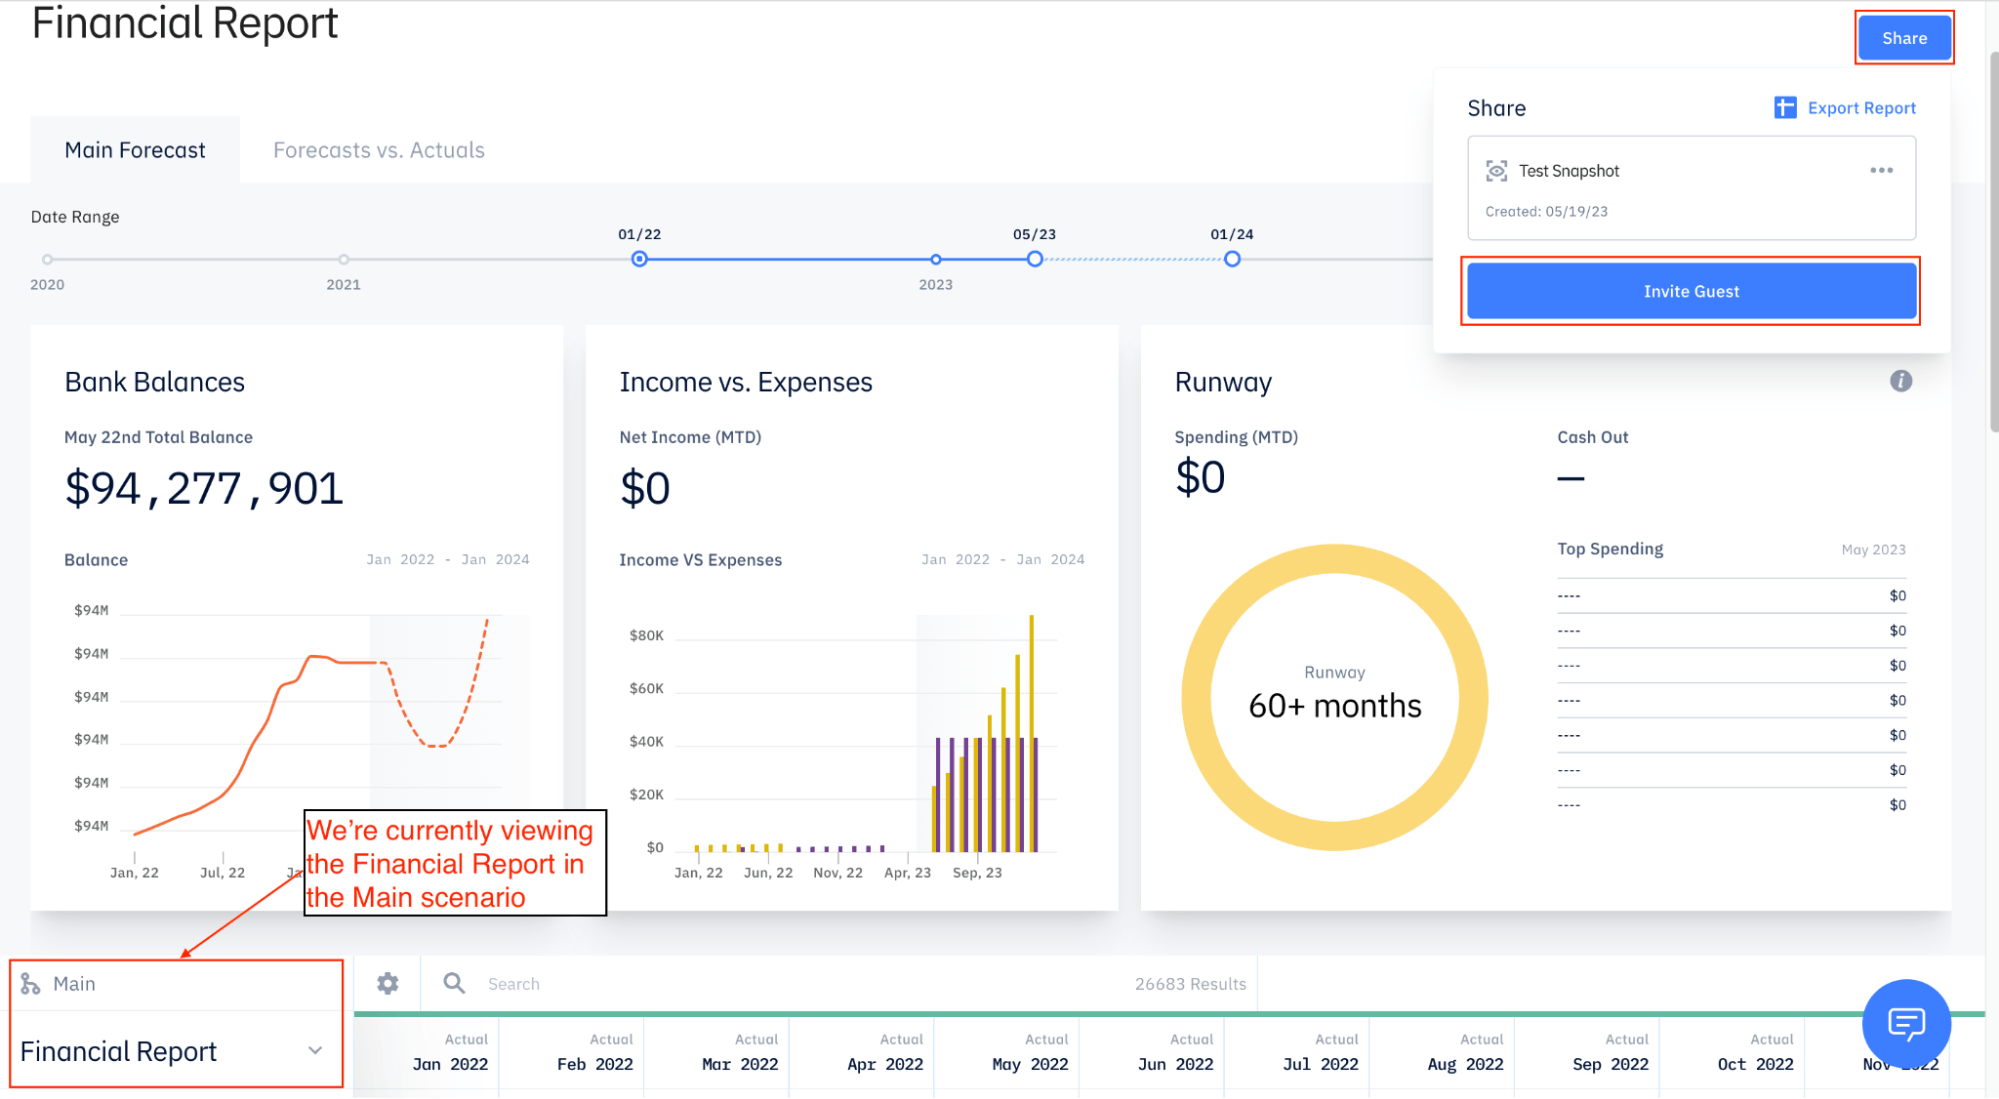
Once you’ve created the snapshot, open the report and click Share > Invite Guest. Enter the external user’s email address, click on it when it shows up at the bottom of the pop-up, and click Invite.
After sending the invite, the external user will receive an email notifying them they’ve been added to a Pry workspace. If they already have a Pry account, they can sign in and switch to the new workspace. If they don’t have a Pry account yet, they’ll be prompted to create one, after which they can view the workspace snapshot.
Admin users can see which guests have visibility to their snapshot by going to the Members settings page and clicking Share. You can also share additional pages with your guest users by clicking + Share Pages.
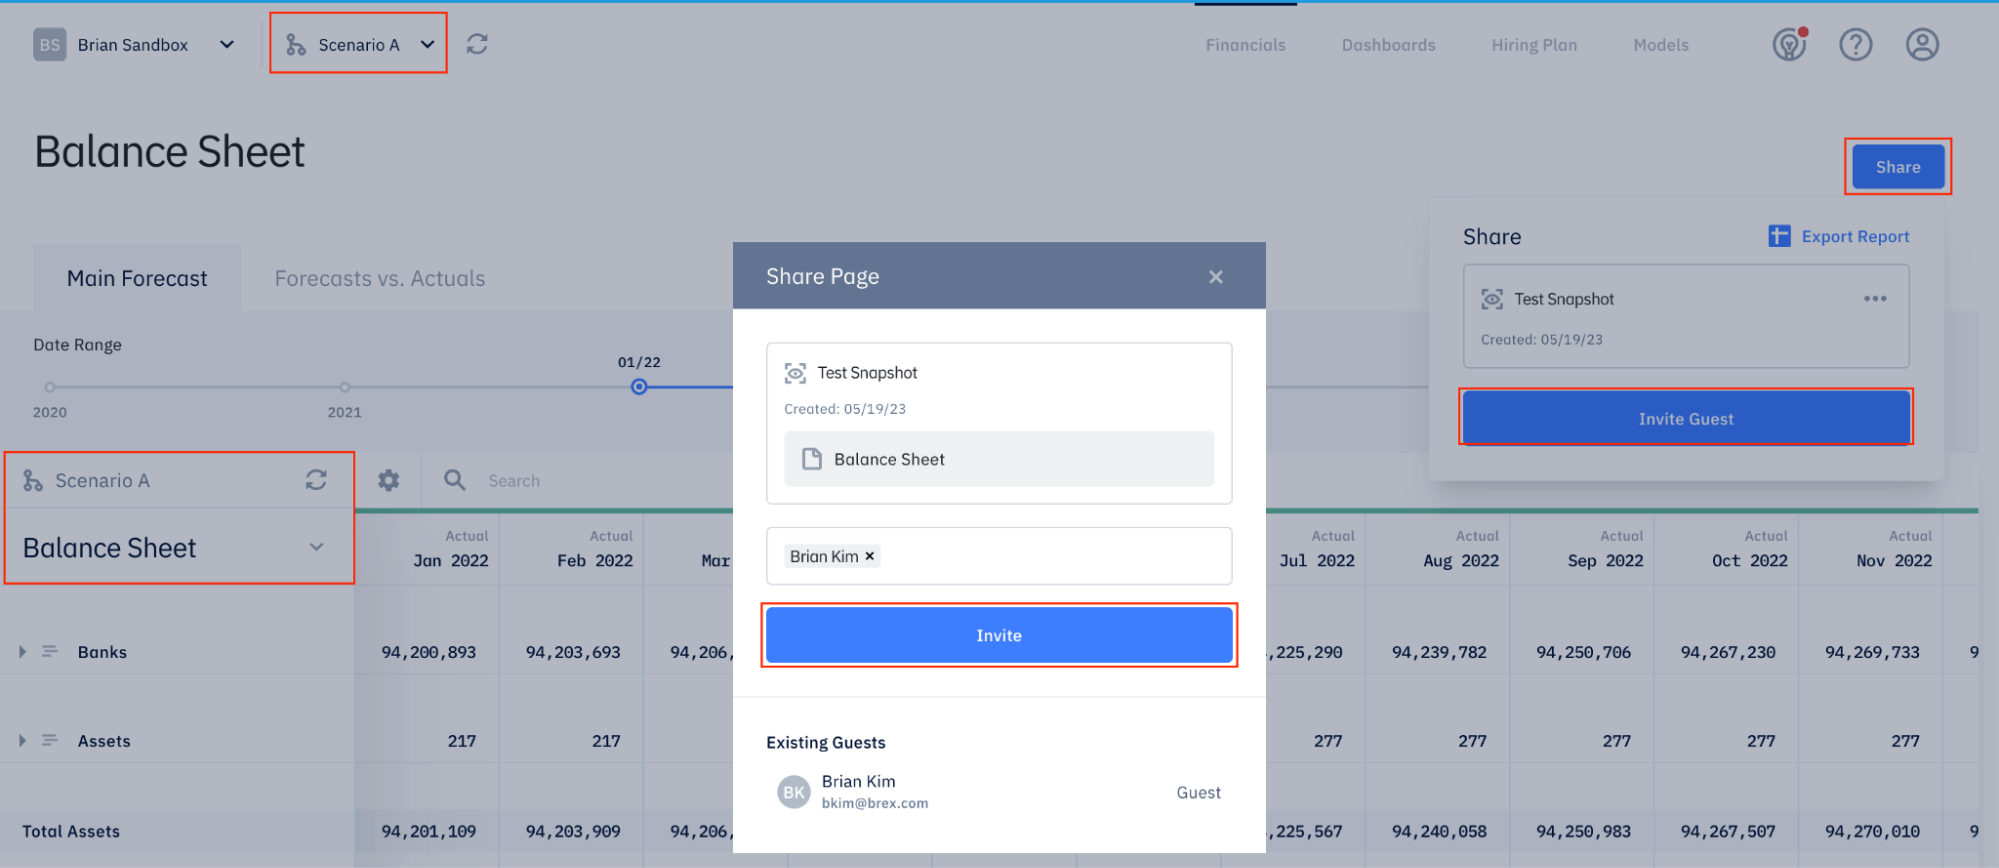
Invite guests to scenarios
Admin users can invite a guest to a specific page of their snapshot in a scenario. Note that the page they invite the guest to is dependent on the one the admin user themselves is currently viewing. First, be sure to switch until you’re viewing the scenario you want to share, and switch to the correct report/page. From here, click Share > Invite Guest. Enter the guest’s email address and click Invite.