Setup
Getting Started
Once you choose to start managing your finances with Pry, your first step is to create a Pry workspace. You can do that here.
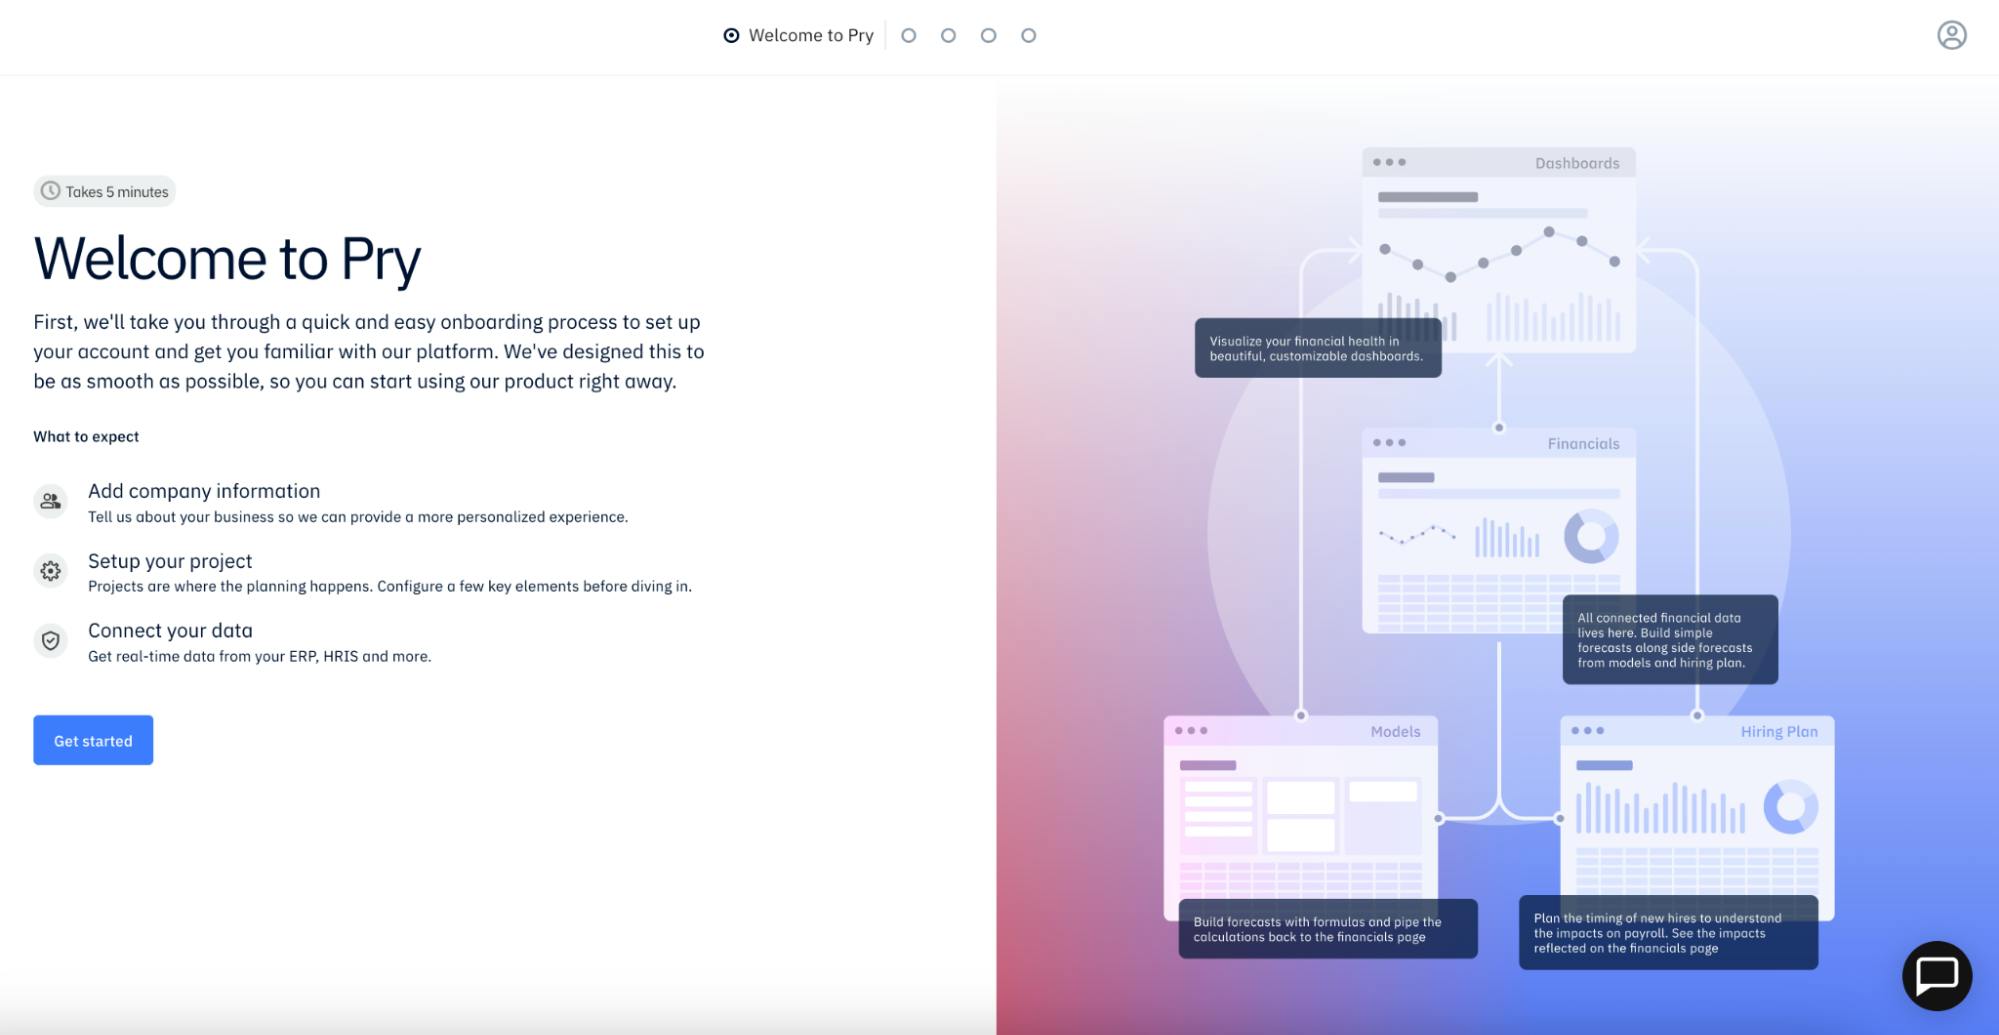
After you’ve created your Pry account, the first order of business is to configure your workflow. When you sign in for the first time, you’ll see a welcome message and be taken through a product introduction guide.
Note: This is a one-time setup guide that only the creator of your Pry workspace goes through.
This introduction experience includes several different steps. To begin with, we’ll ask you a few questions. These include basic information about your company, such as your legal name, revenue model, and individual role. We’ll also ask you what your goals are with signing up for Pry. This helps us get an idea of your business needs.
Next, you’ll be directed to create your first project. A project is a financial planning area within your Pry workspace that consists of all connected financial data, forecasts, models, hiring plans, dashboards, and scenarios. You’ll be asked to name your project, create a custom domain for it, set the currency, and choose the fiscal year-end date. You also have some optional choices, like inviting members or updating the logo.
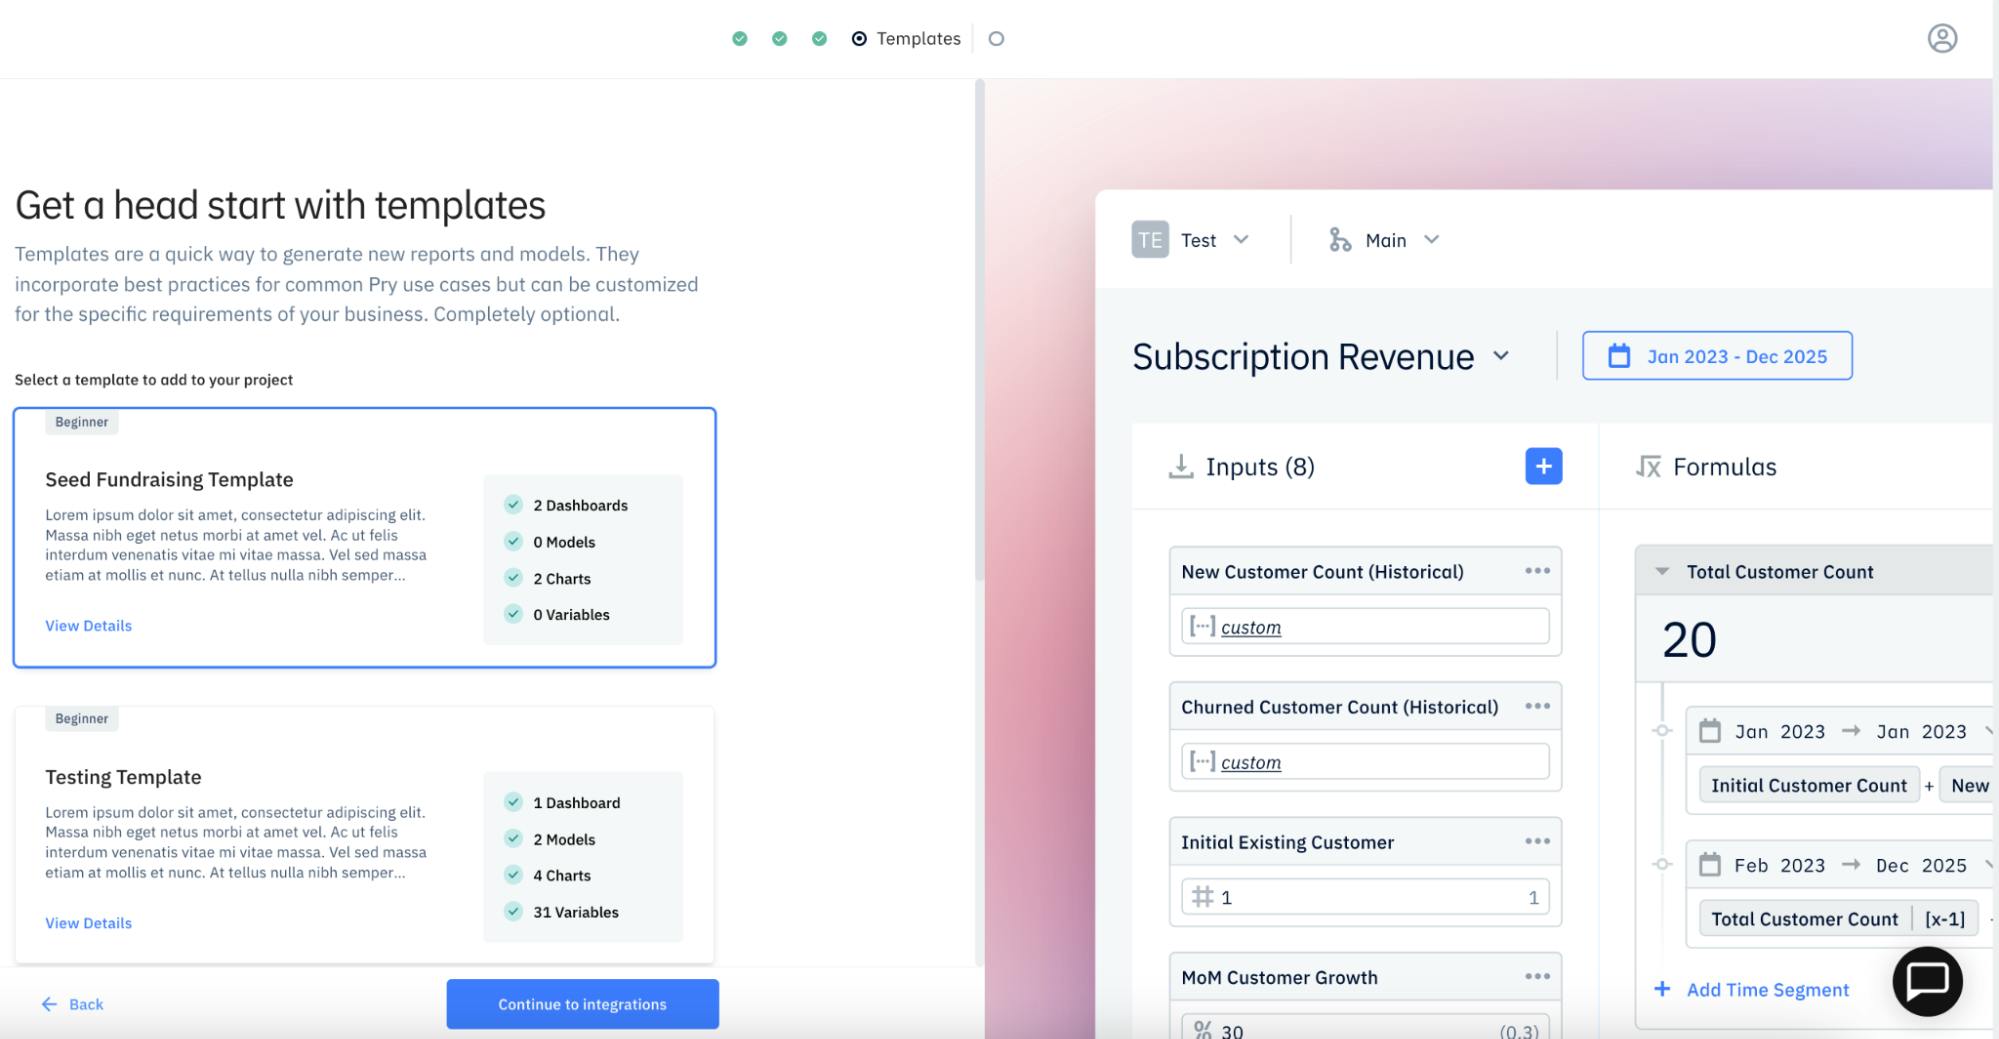
After that, you’ll be introduced to Pry templates. Templates are a great way to get started using Pry as you'll be provided frequently used models and dashboards that you can then customize to your company's needs
Finally, you’ll be asked to connect your data source. You can choose an accounting integration, accounting platform, bank account(s), payroll platform, or third-party data. You can also import data from a CSV.
Congratulations! You’re ready to start setting up your Pry account.
Sign In
You can sign in to your Pry account using either your Pry account information or, if you’re a Brex customer, your Brex login credentials.
Company Name and Domain
After registering a new account, you can set your company name and domain. This can be updated later on the Settings page. Click Save & Continue to proceed to import your accounting data.
Import Accounting Data
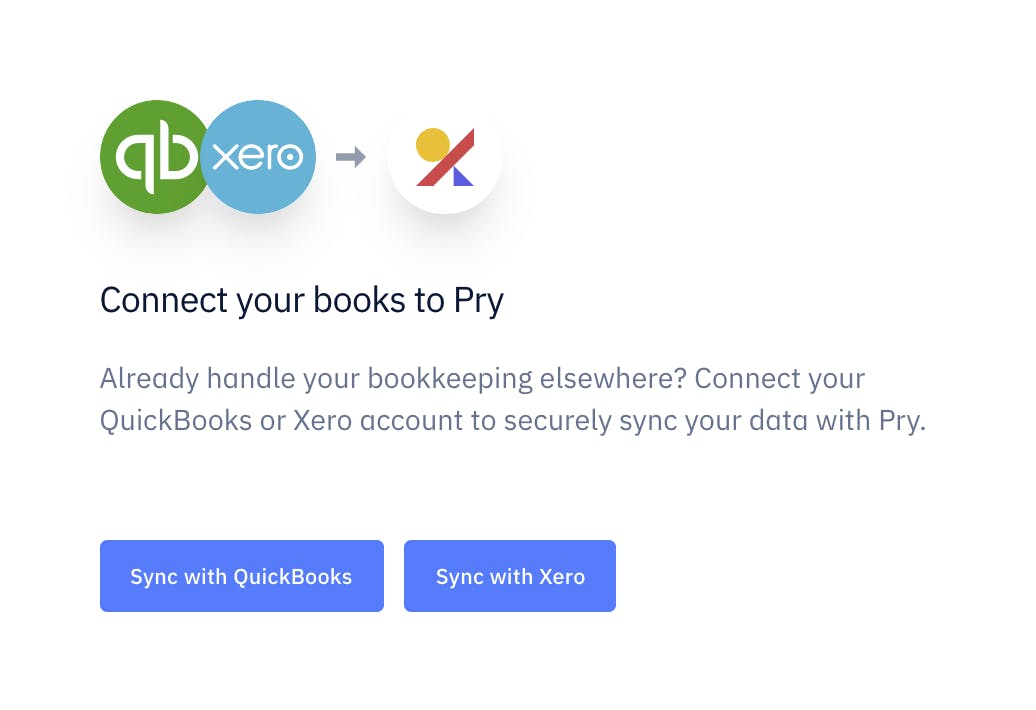
Pry requests API access from QuickBooks Online or Xero. Our API is a secure connection that doesn't share password data and can be revoked at any time via the QuickBooks or Xero platforms.
QuickBooks Online
If your accounting is done on QuickBooks Online, click "Sync with QuickBooks" and sign in to your QBO account. See more info on our QuickBooks Online integration page.

Xero
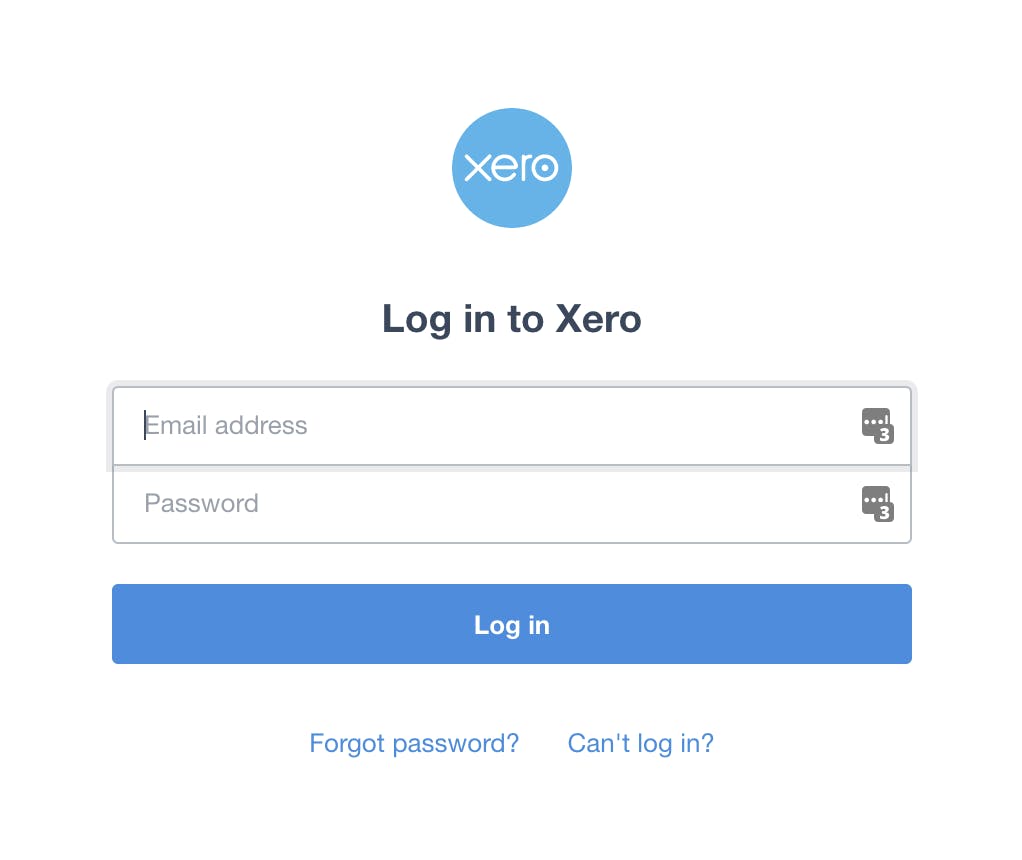
If your accounting is done on Xero, click "Sync with Xero" and log in to your Xero account. See more info on our Xero integration page.
Once your account is connected, Pry will sync with your General Ledger. Your chart of accounts and transactions will be synced over to Pry.
It's a one-way sync from QBO/Xero to Pry; Pry does not revert any changes back to QBO/Xero. This ensures that your accounting data on QBO/Xero will not be impacted by the changes done on Pry.
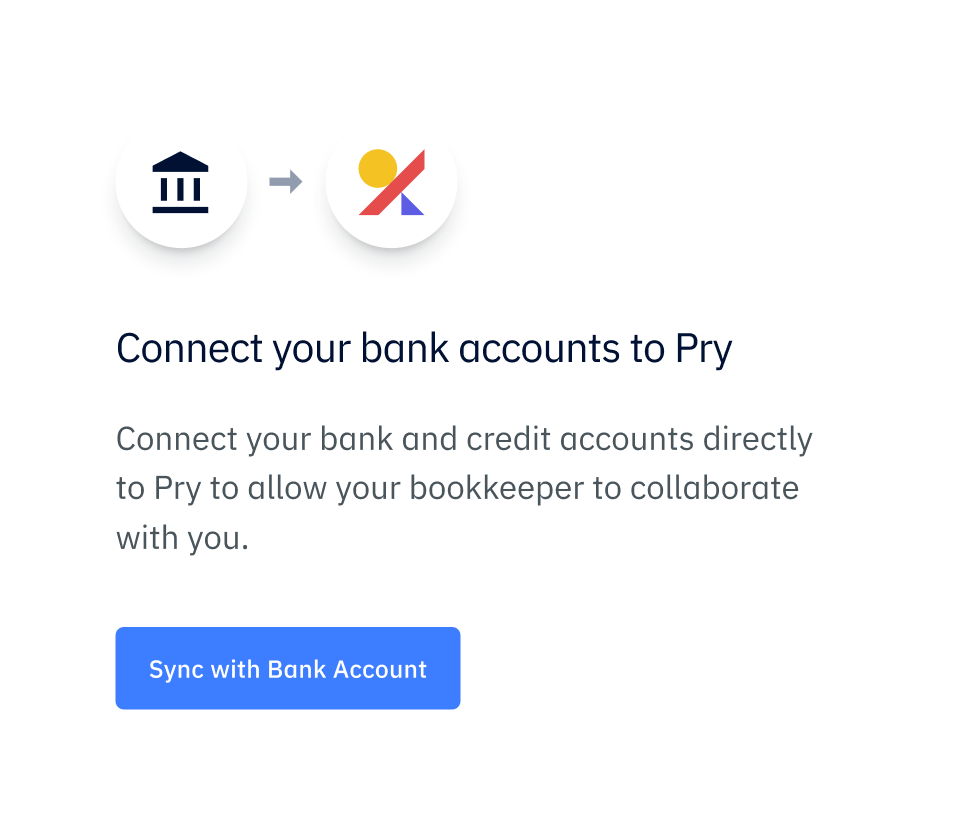
Import Bank Data
If you don't have an accounting system, you can still use Pry to its full potential. Pry has everything you need to manage your books on a cash basis accounting method.
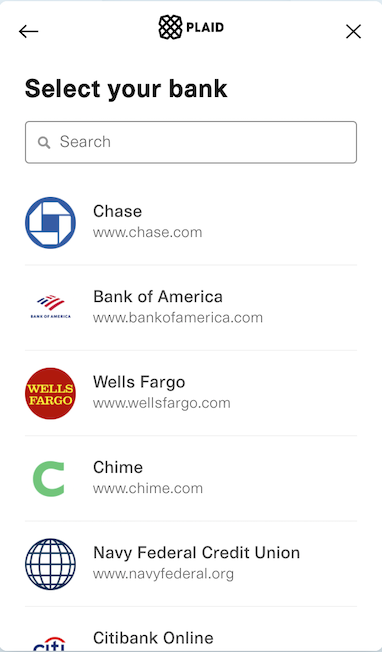
Pry connects to your banking data through Plaid. We never store any of your credentials and have read-only access. See more info on our Banking Integrations page.
Plaid
To connect to your banking data, click "Add Accounts" and select your bank account. Enter your credentials to sign. Once your account is connected, Pry will import your transactions onto the financial report.
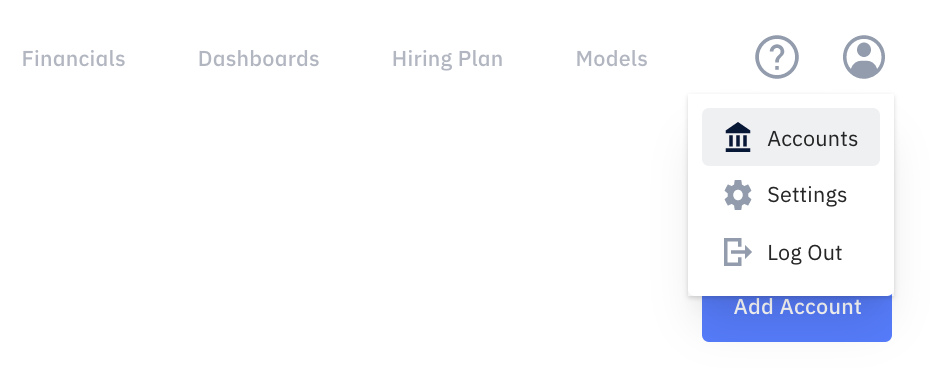
If you have multiple bank accounts/credit cards, you can add all of them onto Pry. Click on the user icon on the top right > Accounts > Add Account to add the rest.
Skipping Setup
You can skip the setup if you're not ready to connect to your financial data. Click "Skip & Connect later" to bypass the Getting Started page to check out our features.
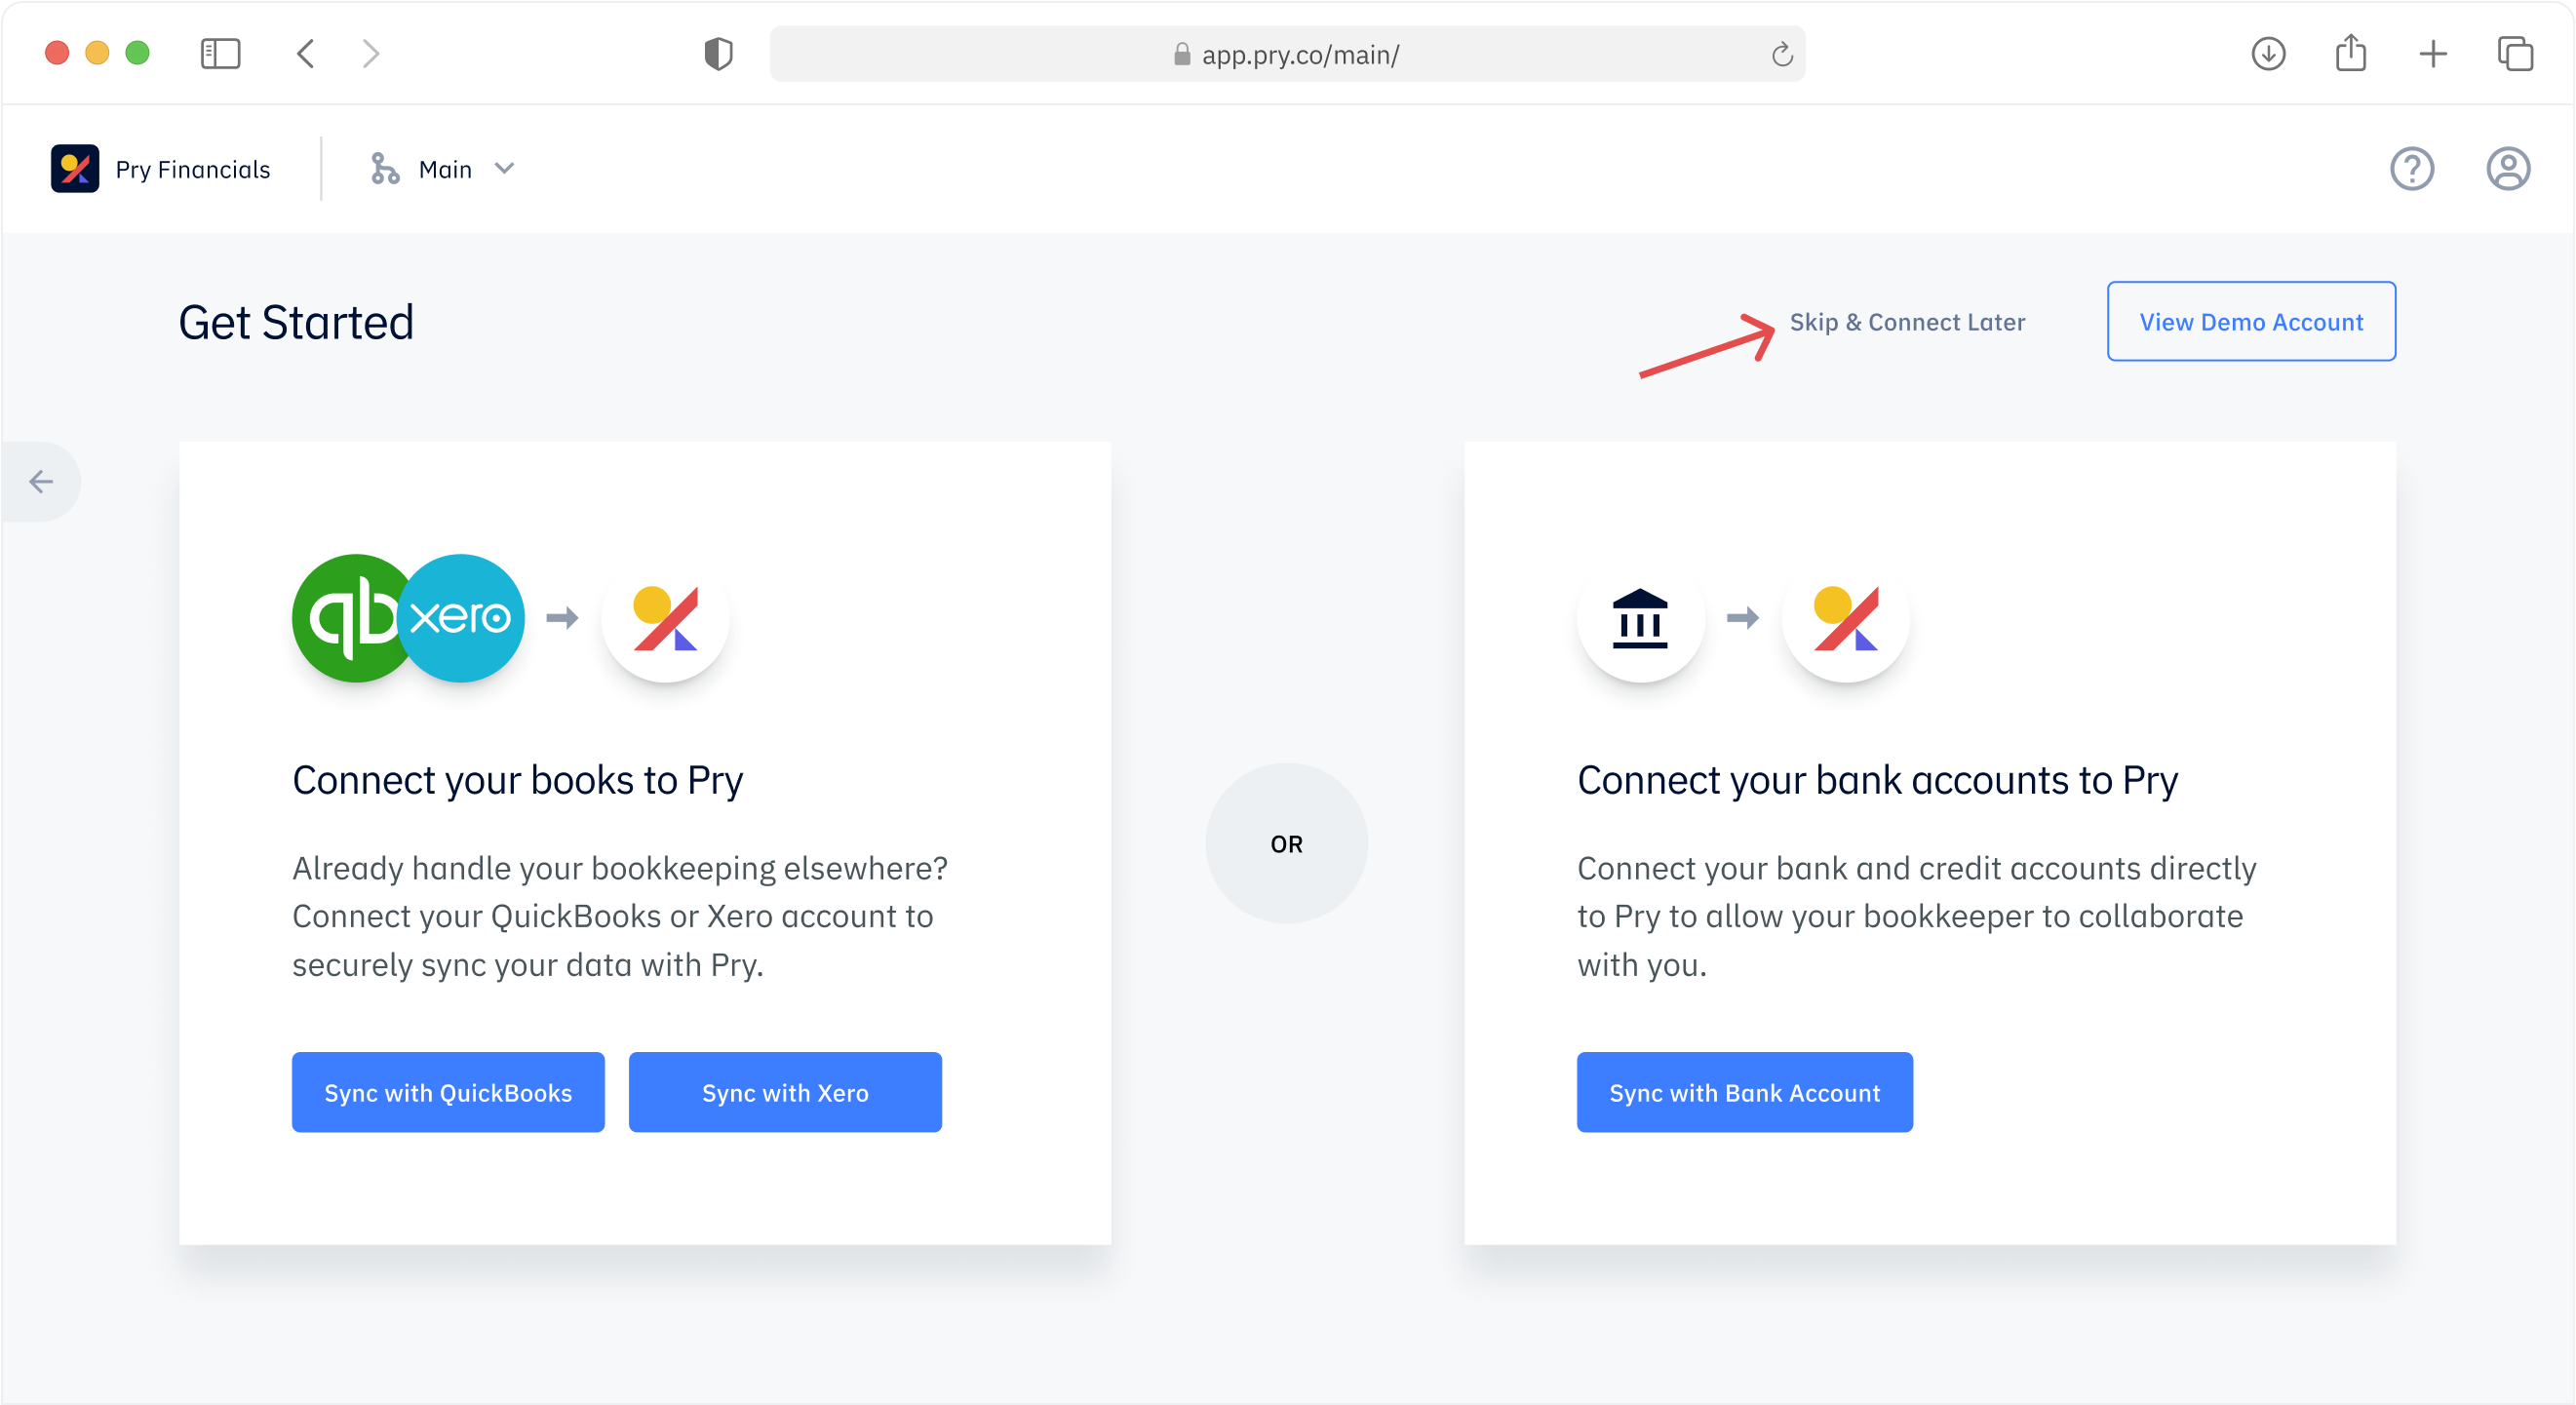
When you are ready, you can go back to the Getting Started page to connect your account.